Step 1. #
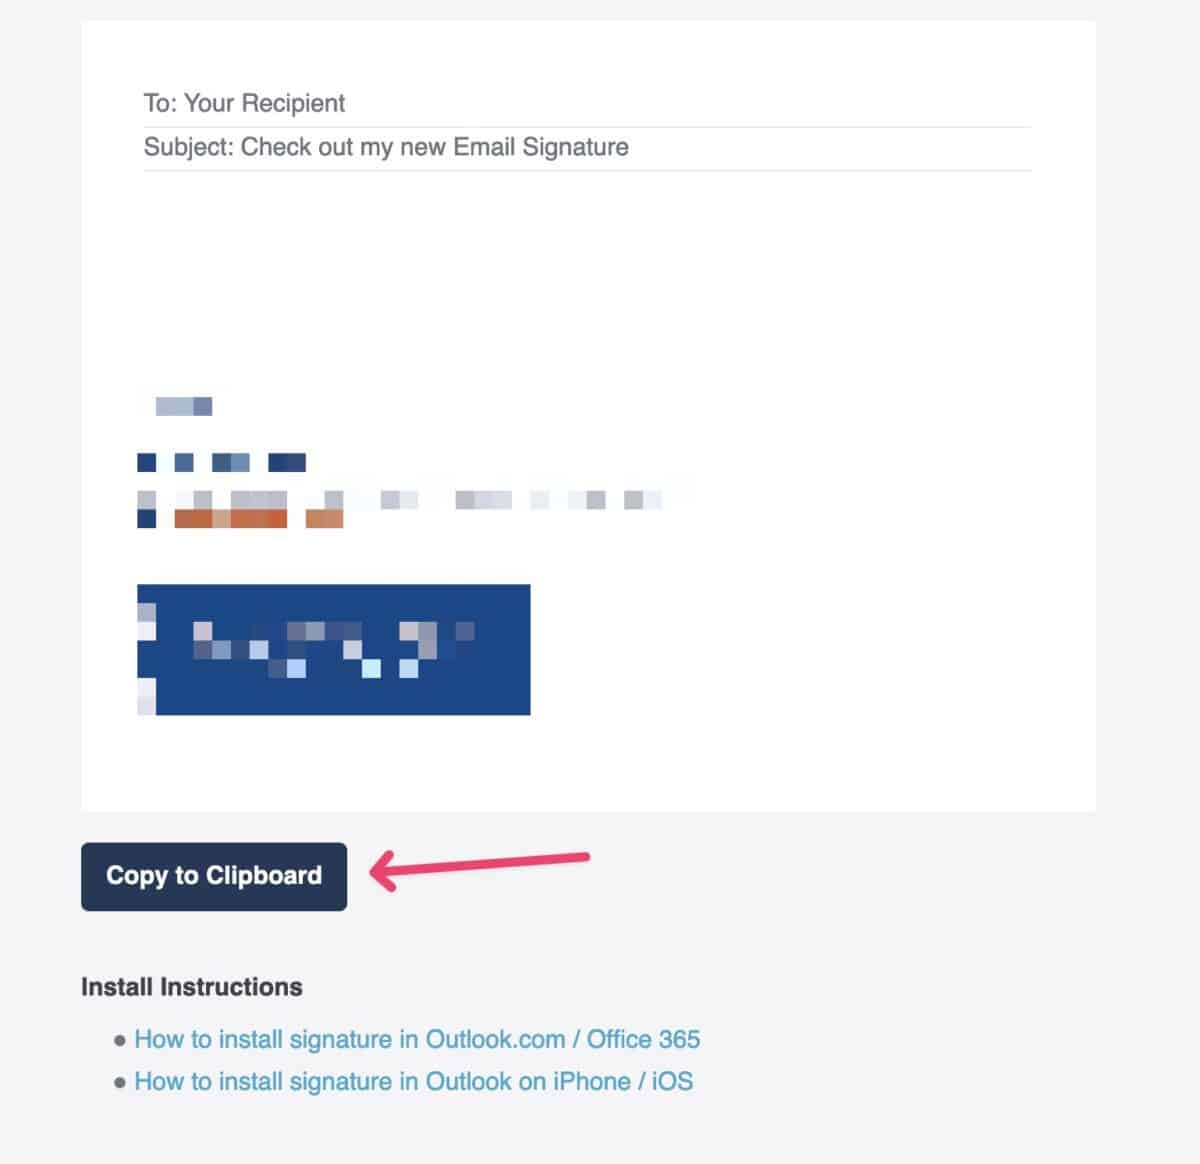
Open the signature sent to you in a browser than click the Copy to clipboard button.
Step 2. #
Open the Gmail mailbox. Look at the top right corner of the Gmail page and click a gear icon. Then click the See all settings button.
Step 3. #
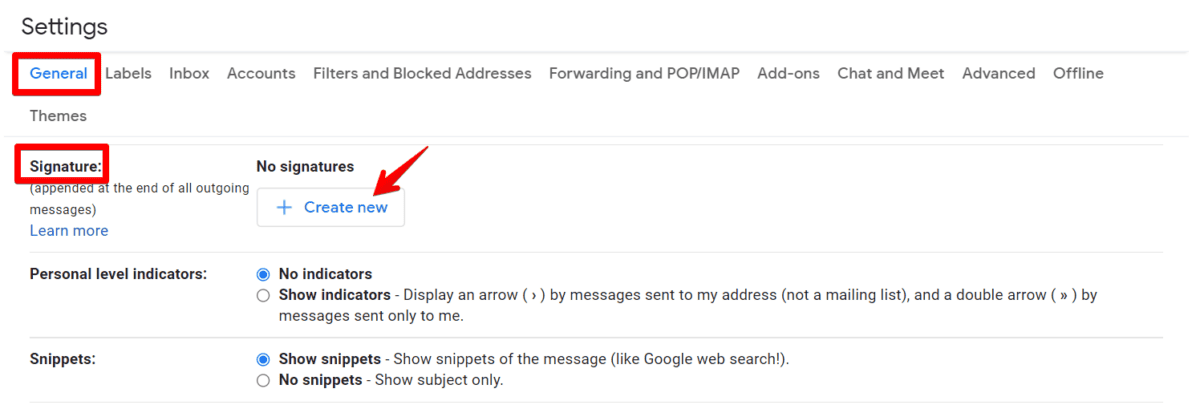
After being forwarded to the General tab, please scroll down until you see the Signature section and click + Create New to create a new signature.
Step 4. #
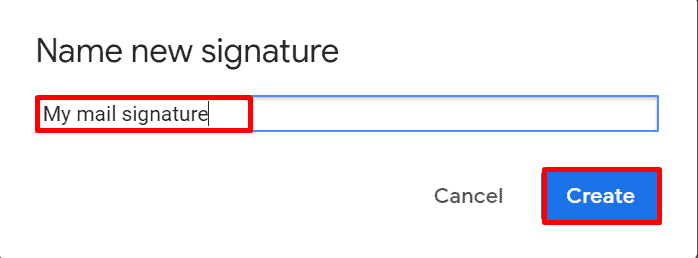
Give a name to your mail signature and click Create.
Step 5. #
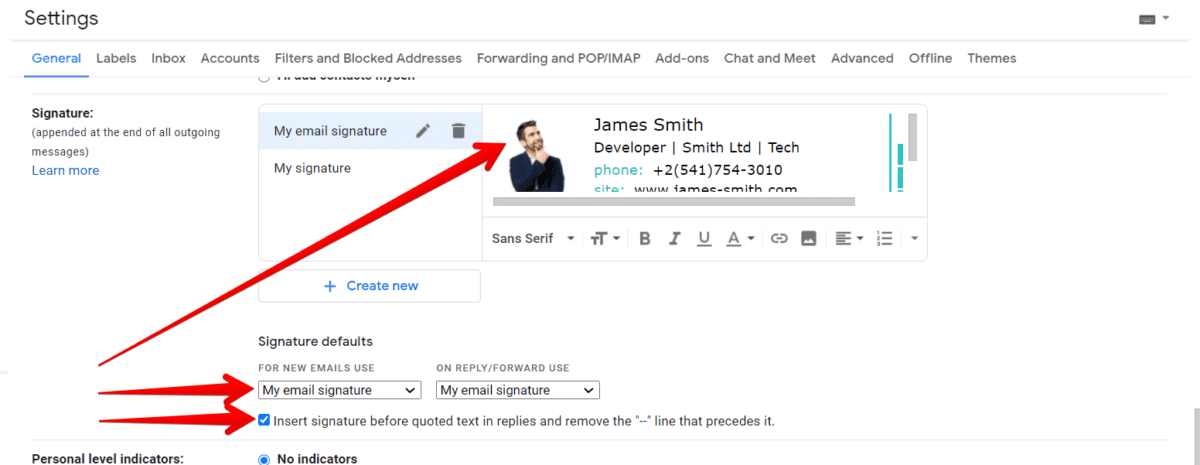
Paste the signature into the signature box using either Right-Click, then Paste, or CTRL +V shortcut.
Optional: Check the box to “Insert the signature before the quoted text”.
Step 6. #
Select your signature from the drop-down menu in Signature defaults if you want your signature to appear automatically every time you compose a new message.
Note: You can have different signatures for new emails and replies/forwards.
Step 7. #
Once your Gmail signature is ready, scroll down to the bottom of the page and click Save Changes.
